Getting your first screen live
The full path from an empty account to a real screen playing real content: upload media, build a playlist, add a slide, then connect the physical screen.
Part 1 — Build your content
Get a real file into CastWize and turn it into a playlist.
1Upload a media file
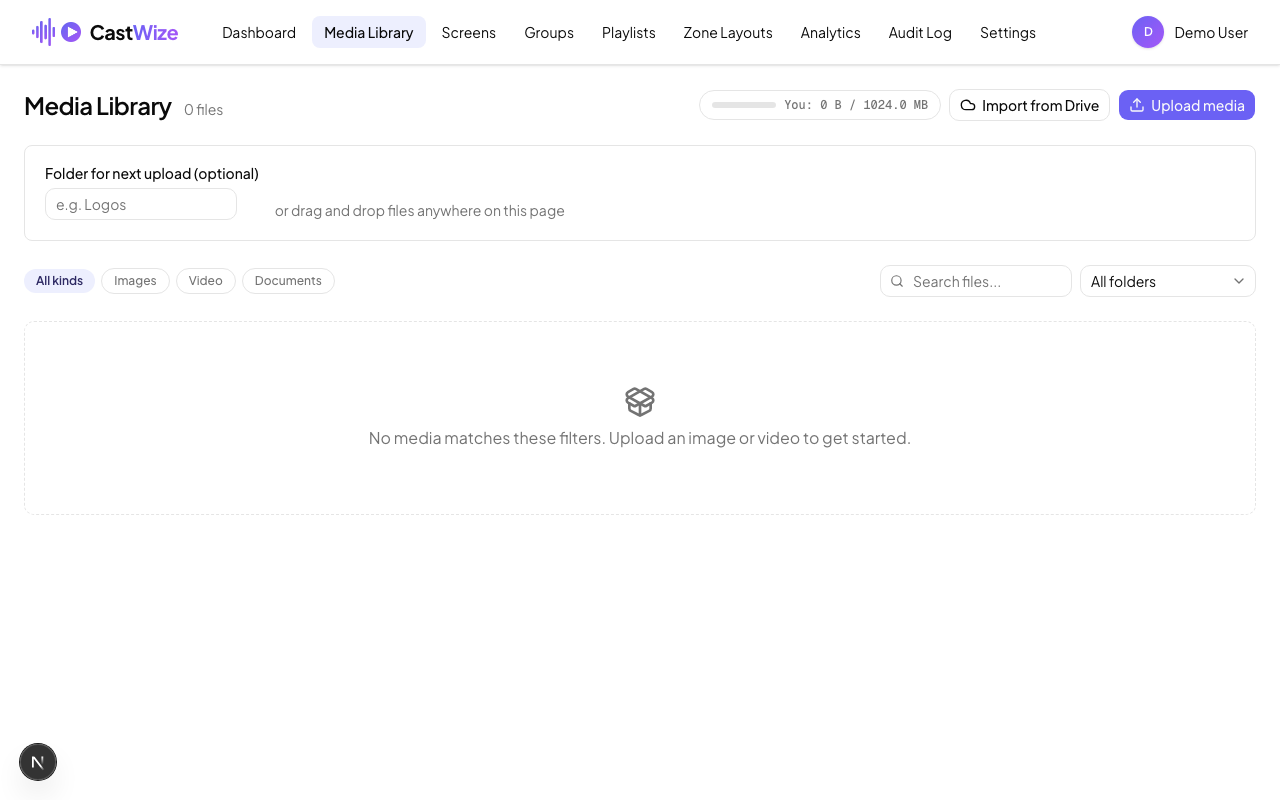
Go to Media Library and click “Upload media.” Images, videos, and documents are all supported.
2Confirm it's ready
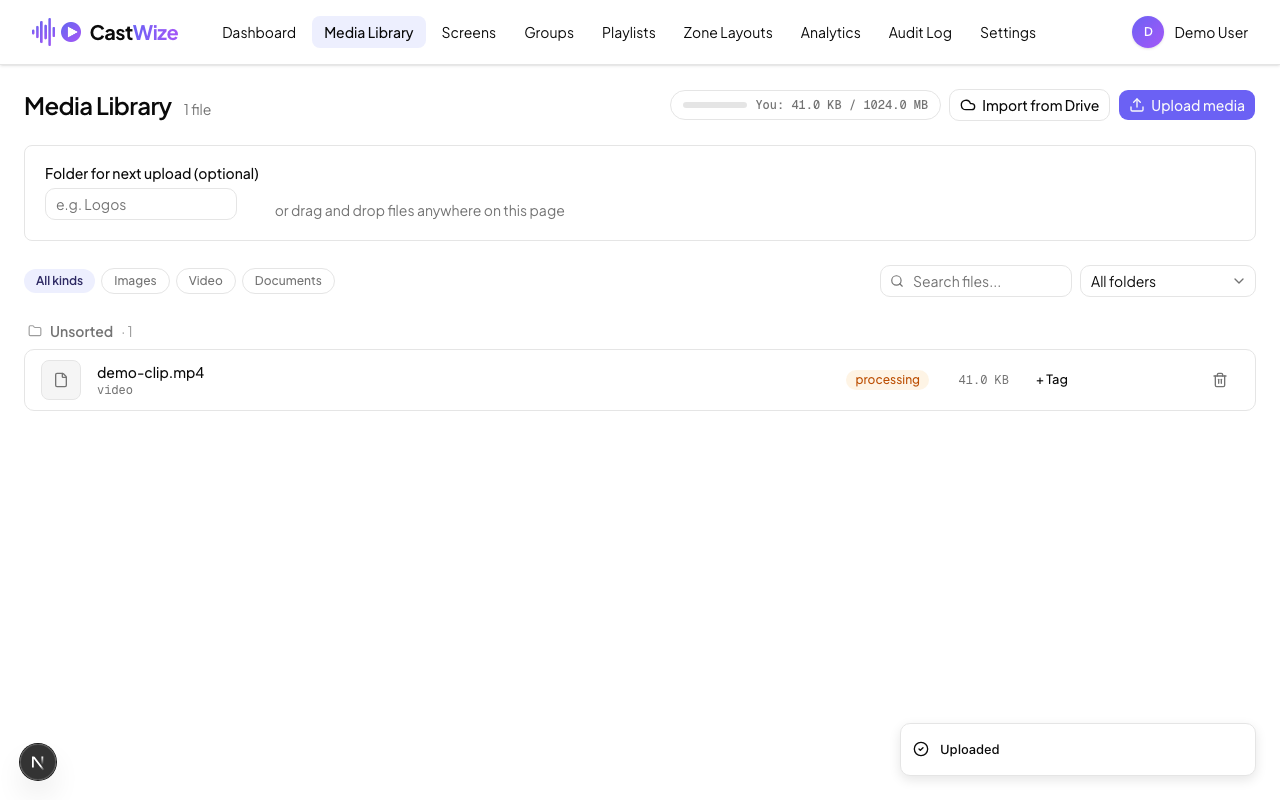
Your file appears in the library right away. Videos briefly show “processing” while CastWize converts them to a signage-safe format — that flips to “ready” within a few seconds.
3Create a playlist
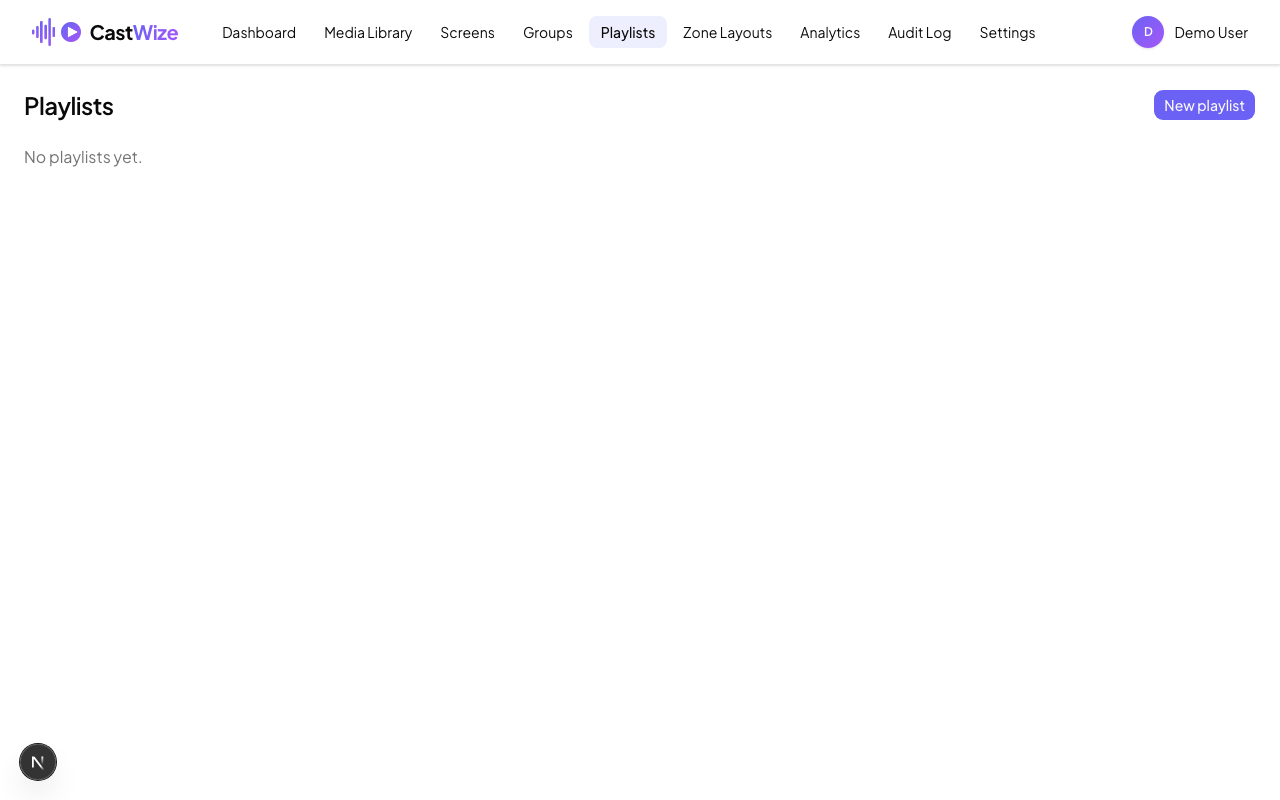
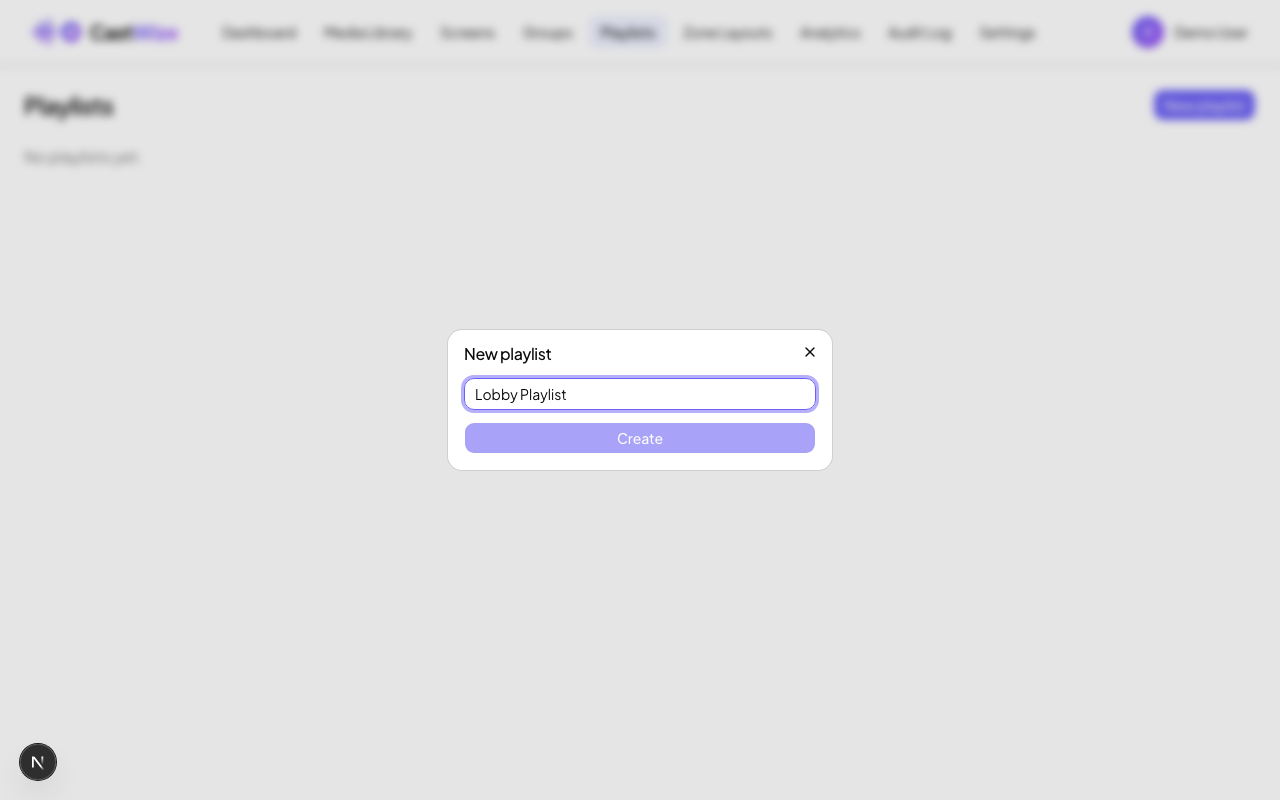
Go to Playlists and click “New playlist.”
4Name it
Give it a name you'll recognize — like “Lobby Playlist” — then click “Create.”
5Open the empty playlist
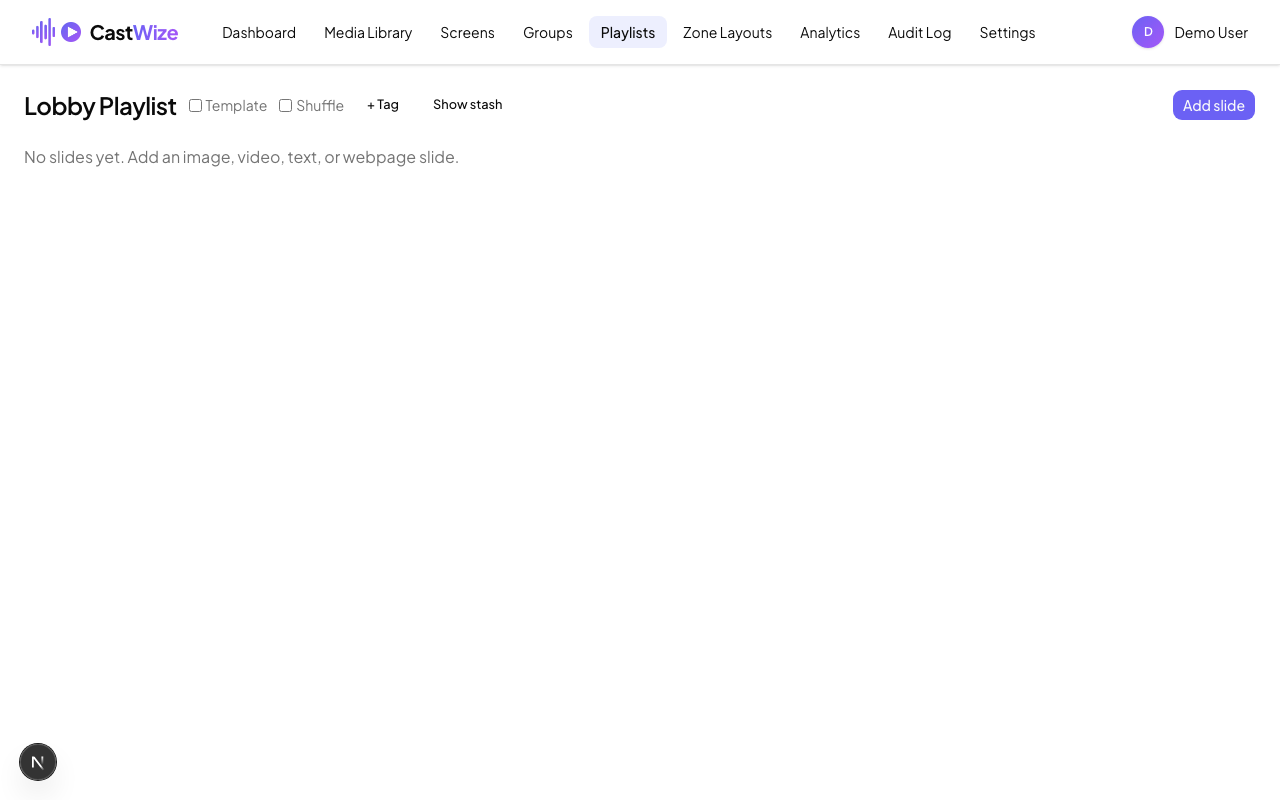
You're dropped straight into it. Click “Add slide.”
6Add a slide with your media
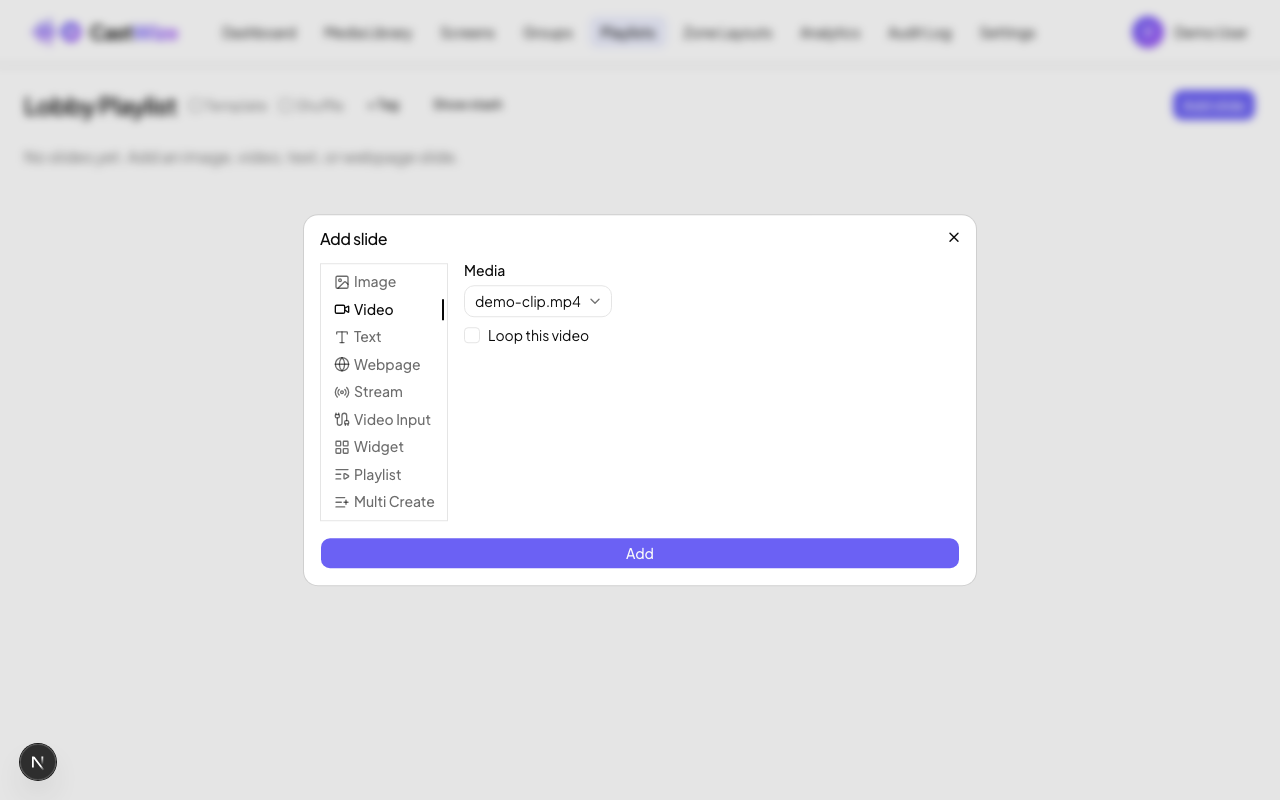
Pick a slide type on the left — Video or Image match what you just uploaded — then choose your file from the Media dropdown and click “Add.”
7Confirm the slide was added
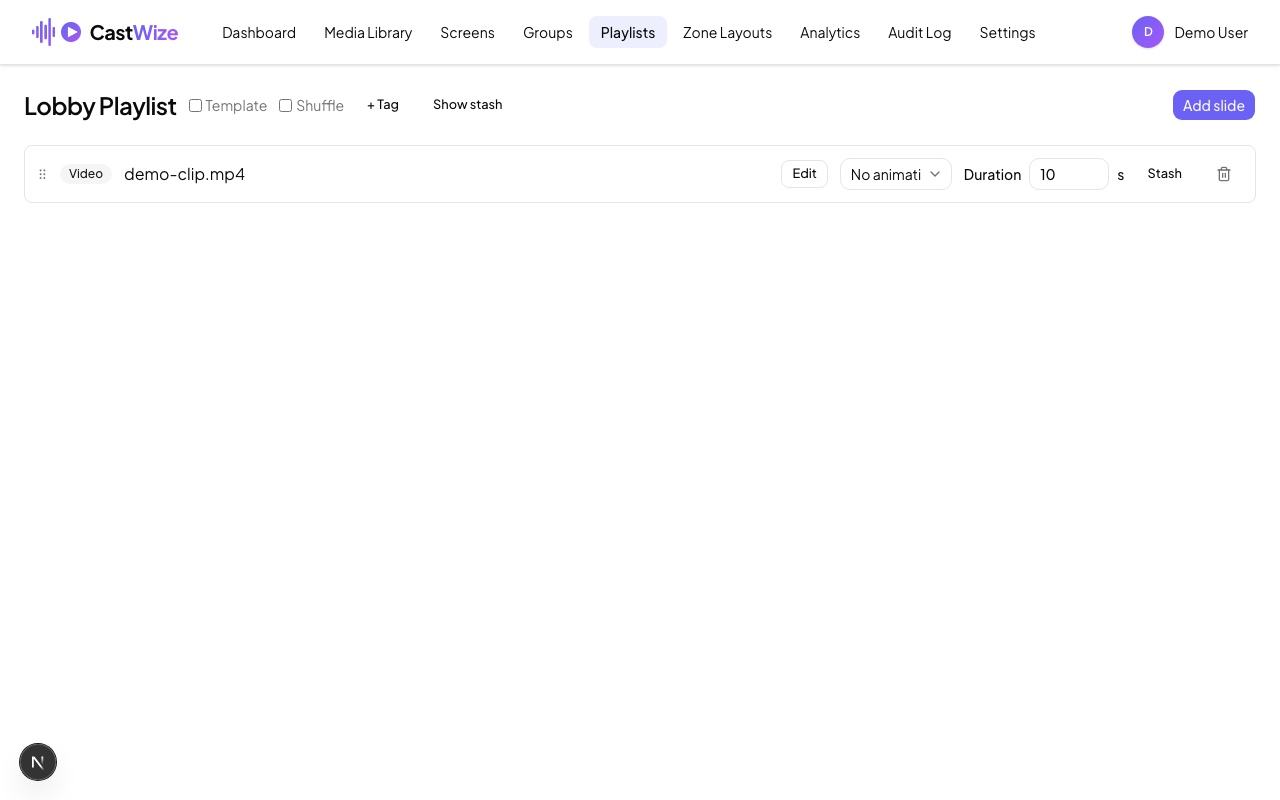
Your slide now shows in the playlist, with its type, duration, and animation settings — all editable any time.
Part 2 — Connect a screen
Now get a real device paired so this playlist has somewhere to play.
8Get a pairing code from the player device
Install the CastWize Player app on the device you're using as a screen (Android, Windows, macOS, Linux, or Raspberry Pi — see the Support page for downloads). Launch it and it shows a 6-character pairing code on screen.
9Open the Add a screen dialog
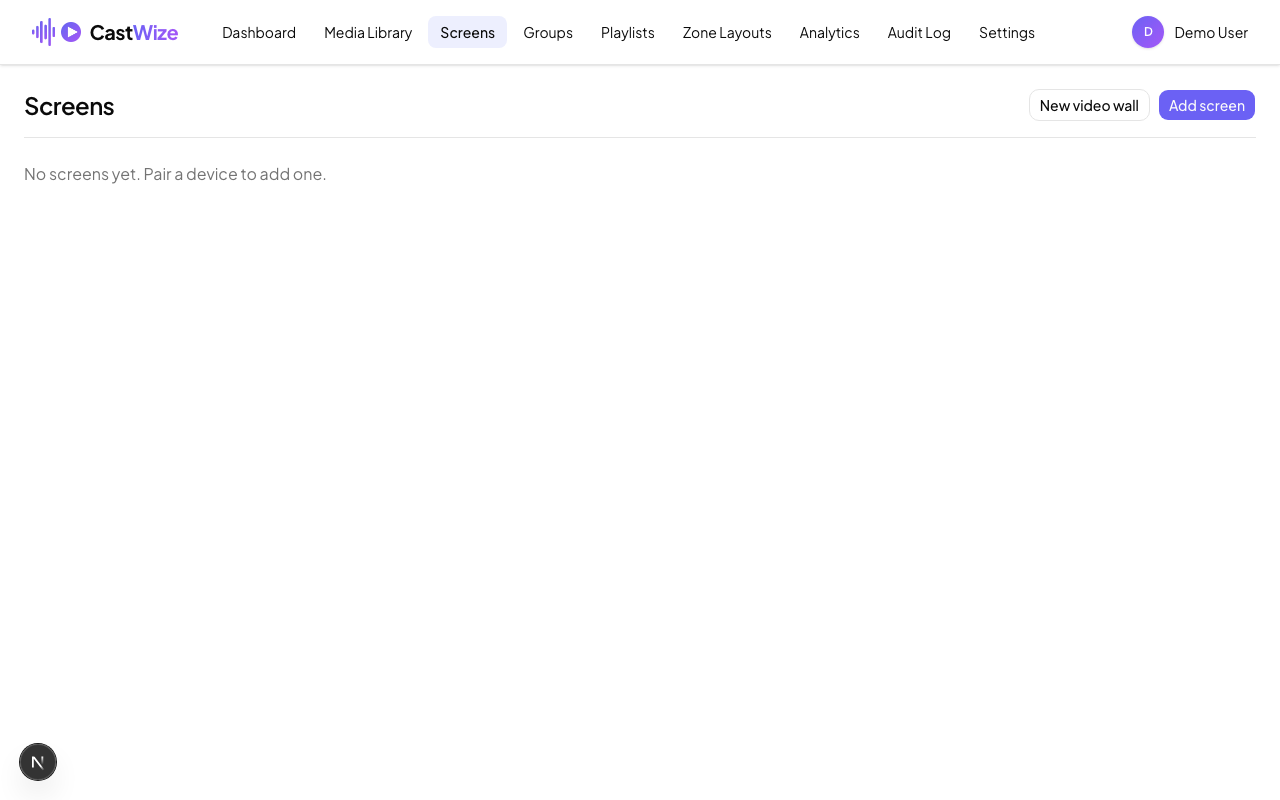
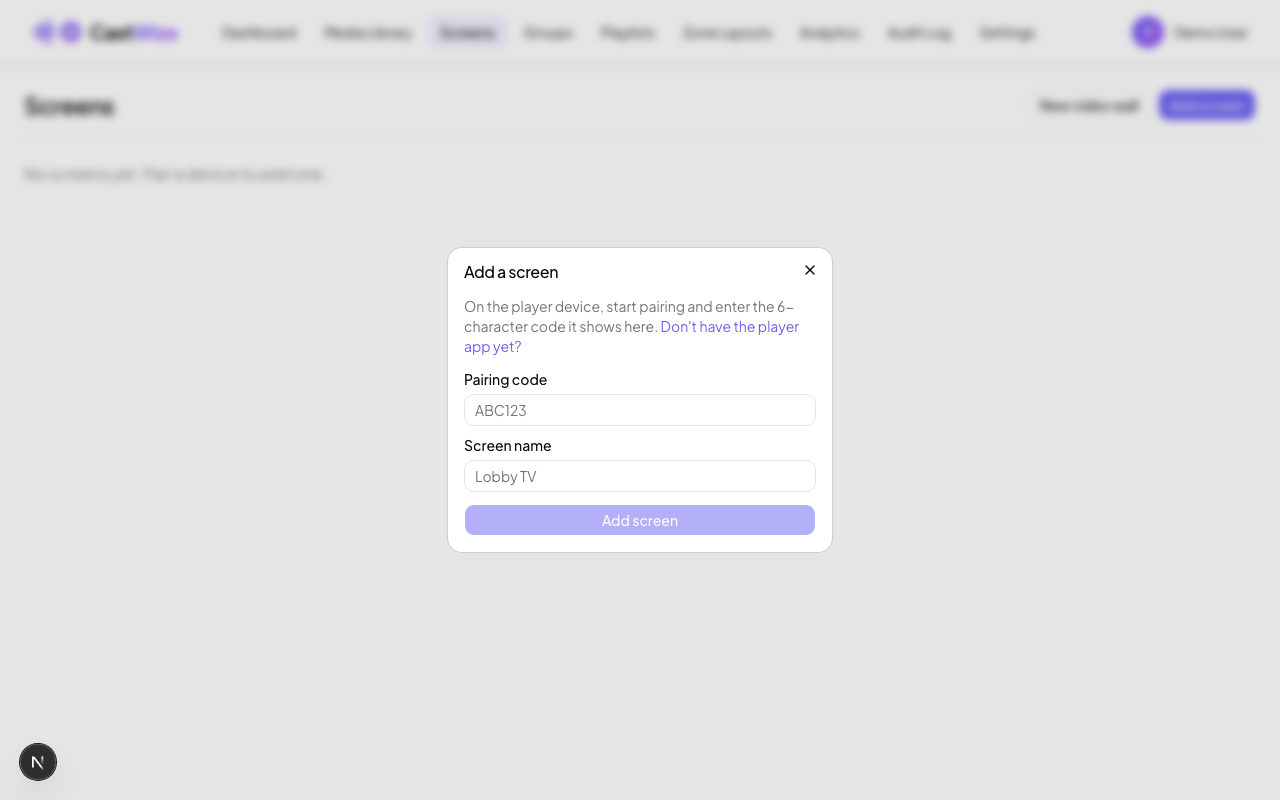
Back in Studio, go to Screens and click “Add screen.”
10Enter the code and a name
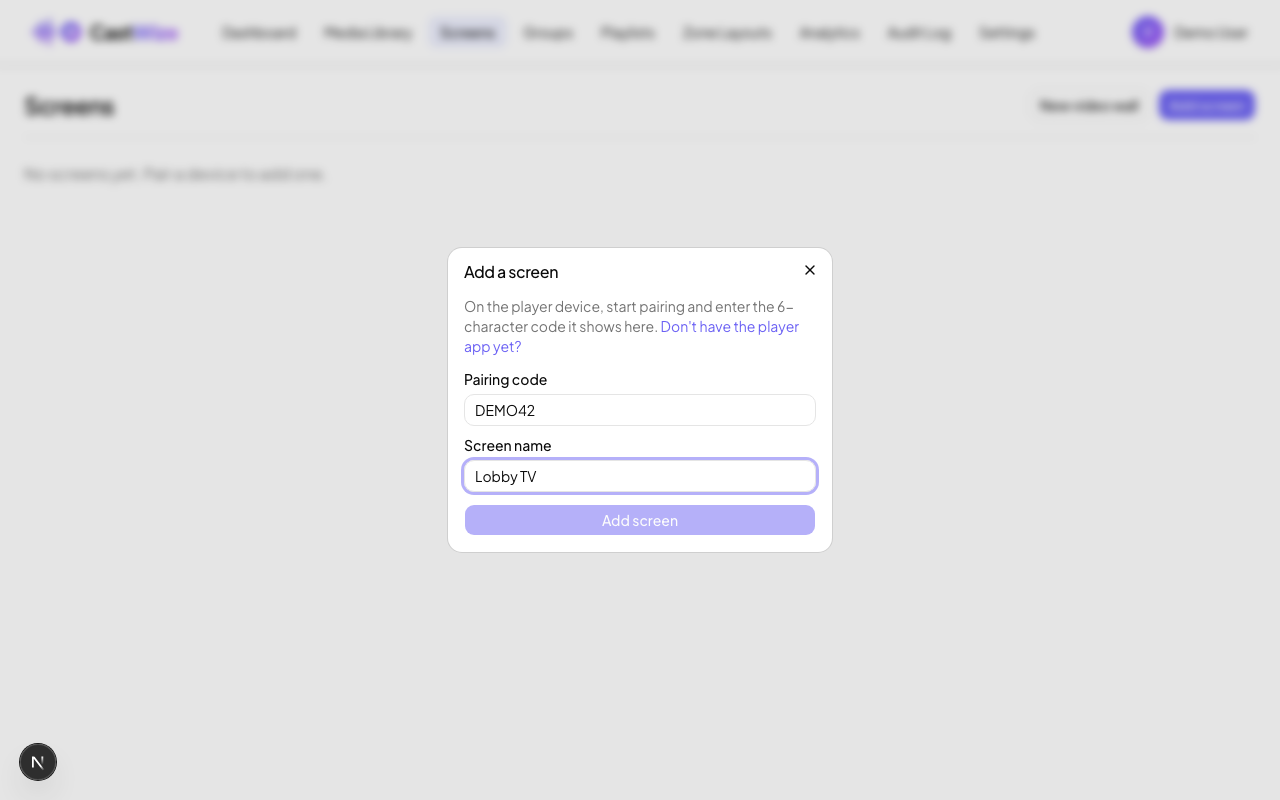
Type the code exactly as shown on the device (letters are automatically uppercased), give the screen a name you'll recognize — like “Lobby TV” — then click “Add screen.”
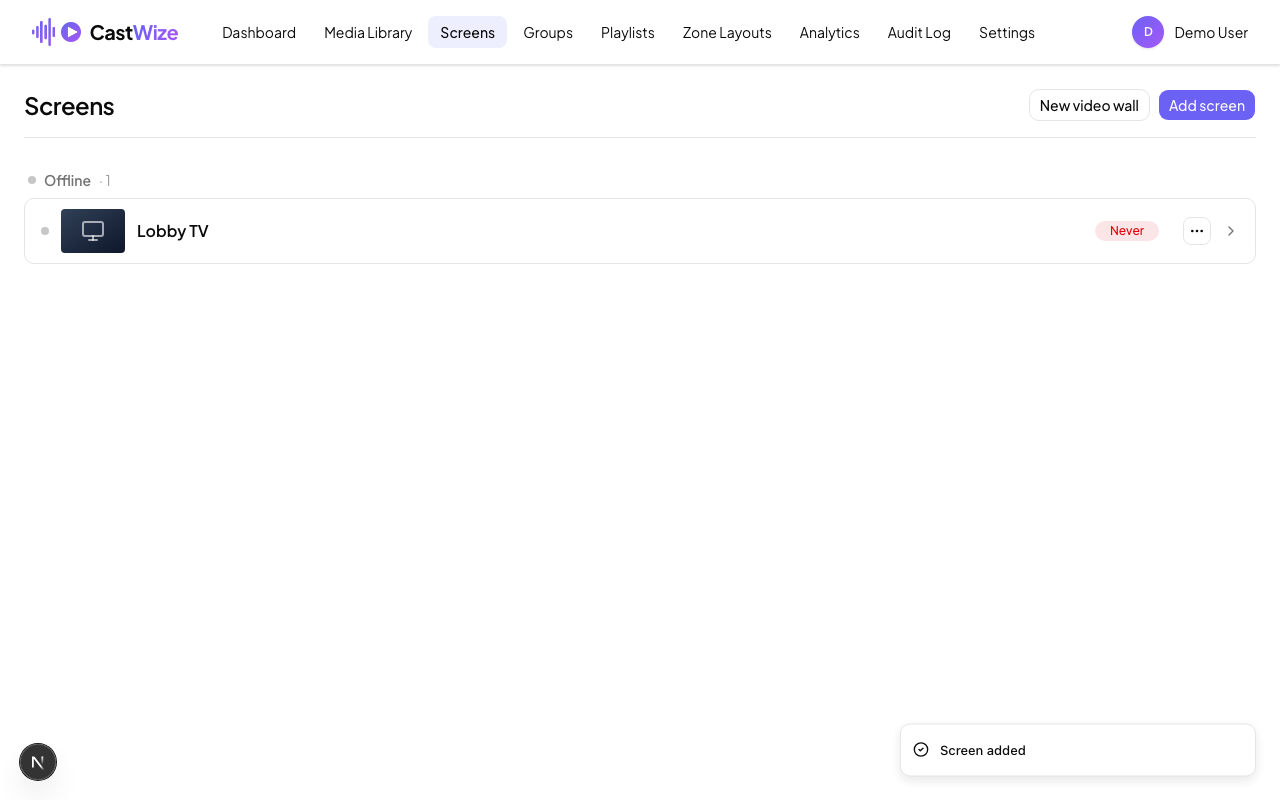
11Done — the screen is claimed
It appears in your screen list right away. It'll show “Offline” until the device actually connects and checks in for the first time — that's normal.